We all know that fossil fuel, which is the major source of the energy that we consume, is not a renewable resource.
Now that it is running low, there is a significantly growing need for renewable or sustainable energy sources. With fossil fuels, the problem is availability.
There is not much left to waste. A renewable resource like the sun, wind, and water currents, on the other hand, is quite abundant. There is enough energy out there to power the whole world.
The problem lies in creating a system that can harness these sources efficiently. This is why, more and more individuals are trying hard to learn how to effectively construct their own solar panels to provide enough energy to power their homes, or at least minimize the consumption of fossil fuels, without burning a hole in their pockets.
In the following, you will learn how to build solar panels for your home in seven relatively easy ways without spending too much of your savings.
Purchase a How-to guide You might be able to find a free guide online, but the old adage “you get what you pay for” is likely to hold true.
Fortunately, there are a number of excellent how-to guides available on the internet which you can buy for a reasonable price.
When looking for guides on how to build solar panels for your home, it is essential to pick those with discernable illustrations and easy to comprehend step-by-step directions:
- Purchase the needed parts – for those who are on a tight budget, you can look for solar panels in surplus shops. Look for slightly faulty but fully functional, solar cells. These cells are easily obtainable and can be bought for a fraction of the retail cost. Some of the guides tell you exactly where you can get used cells at bargain-basement prices. Other materials that are needed are silicone, copper wire, plywood, solder, glass, wood screws, and high-quality paint for weatherproofing purposes.
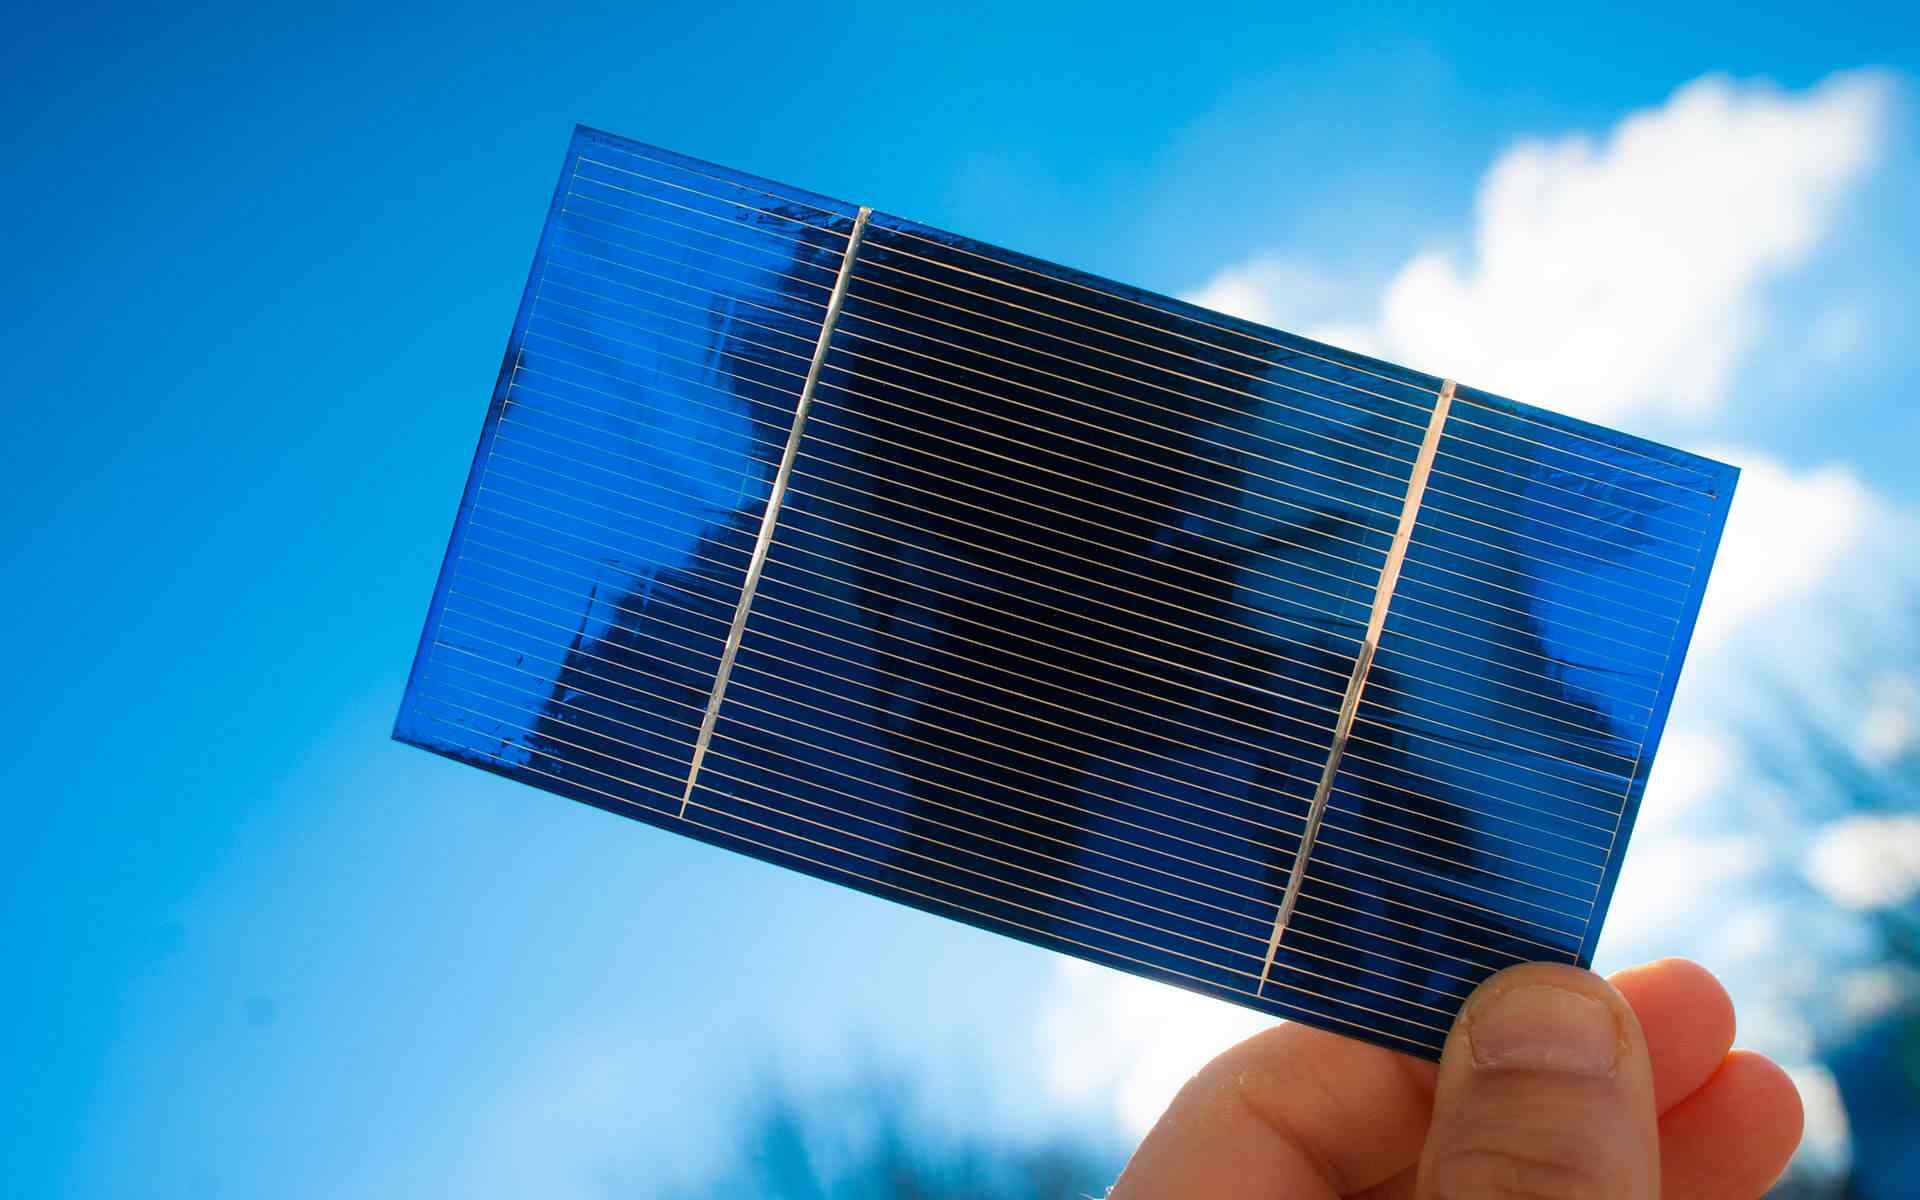
Collect the appropriate tools – tools like a soldering iron, screwdrivers, wire cutters, caulk gun, wood saw, and several wrenches are needed. - Construct the solar panel – forming a panel will require around 36 cells soldered together. The constructed panel will then be placed on a UV protector coated pre-cut sheet of plywood. The entire assembly is then covered with a sheet of glass and sealed with silicone caulk.
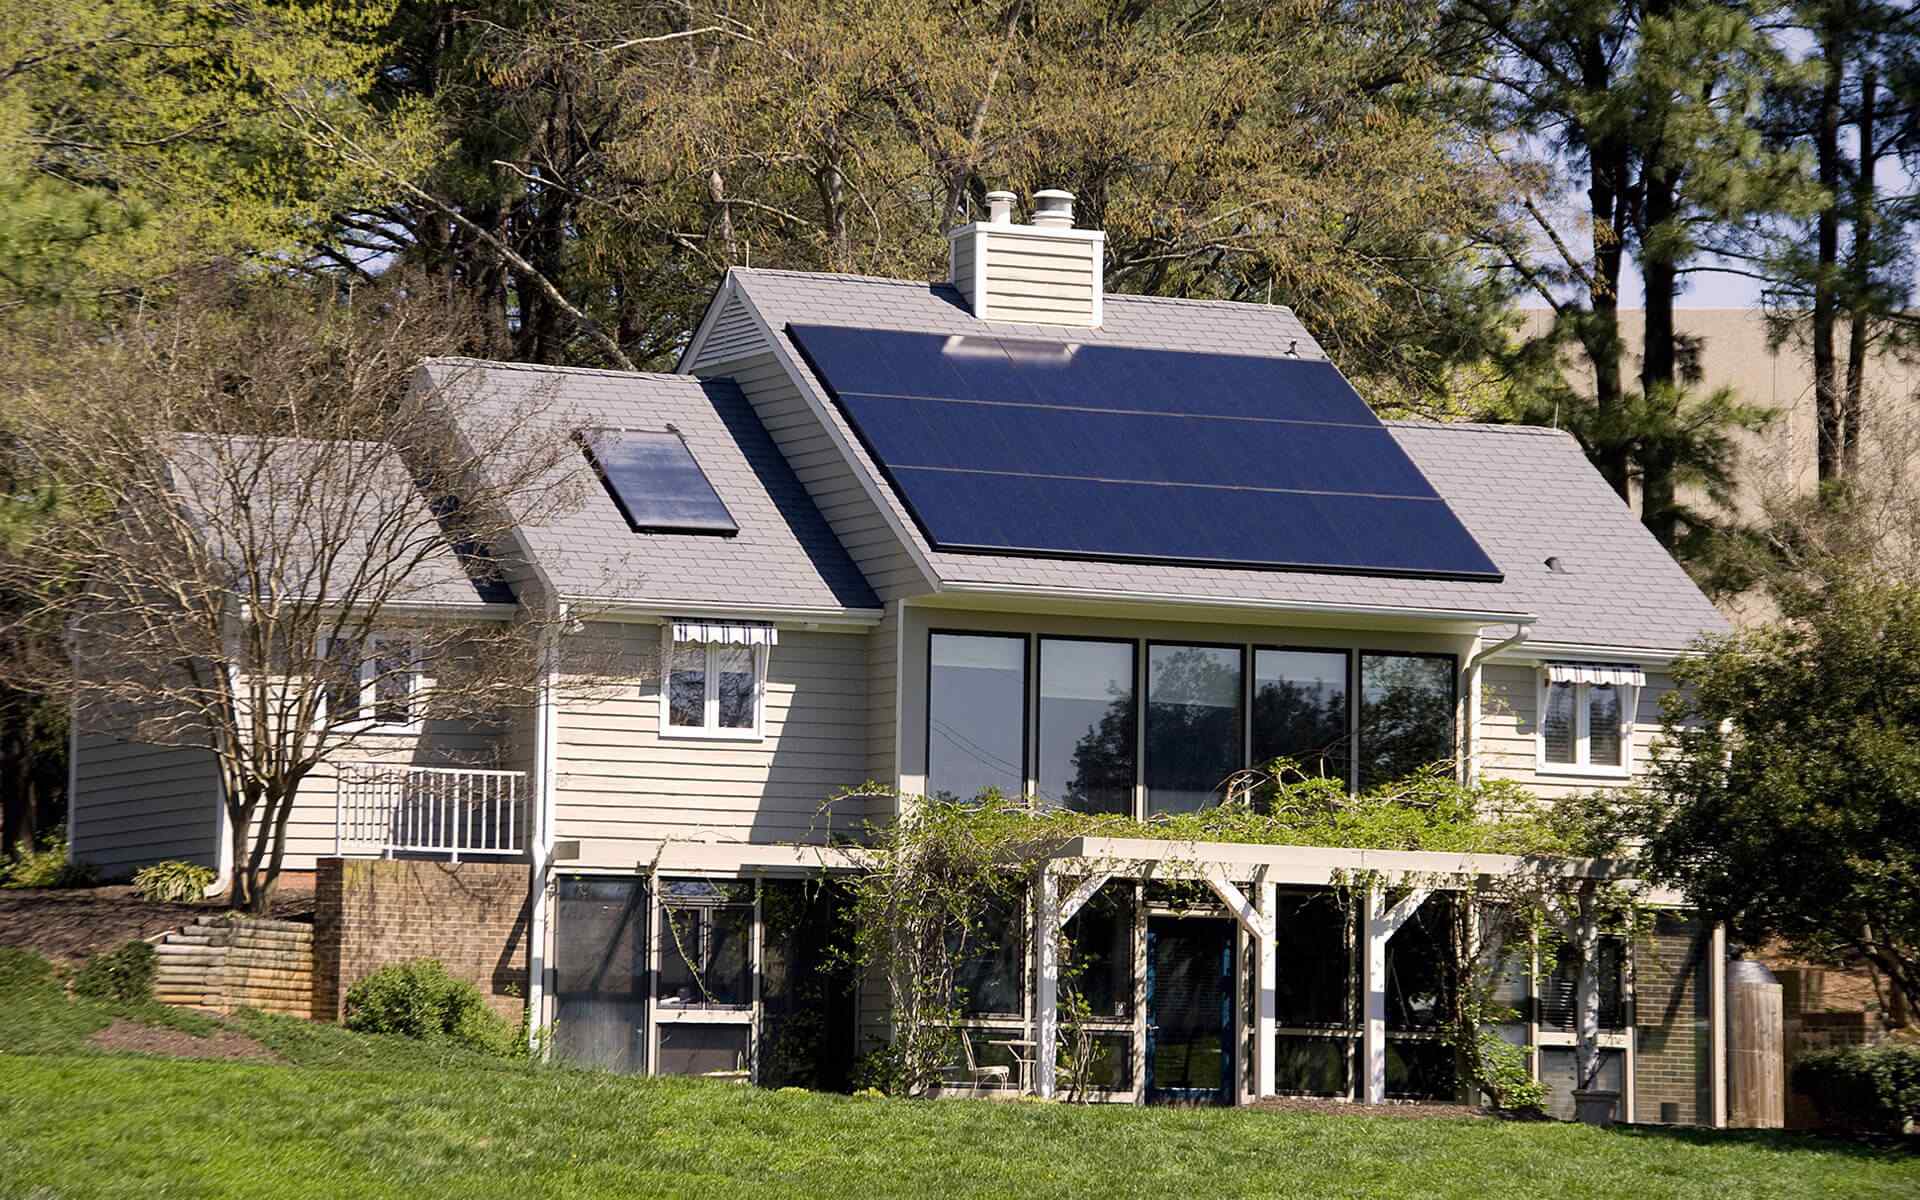
- Properly mount the panel – when installing the panel, it has to be in a south-facing location. The roof of your home is the most suitable location, but if that is out of the question, an exposed area in your yard is good enough.
- Attach the solar panel to the battery – when exposed to the sun, the panel will produce an unregulated DC current. A charge controller will be needed to regulate the panel output to efficiently charge the battery where the energy is stored. Carefully hook up the battery to your home’s electrical system – you will need a device known as an inverter to convert the DC power from the battery to a household AC. The inverter must be attached to the breaker panel of the house through a proper switching device.


